Setting up Docusaurus
The process of learning Docusaurus and the base setup of Wondering Admin. This will provide a simple startup on Github Pages.
The Docusaurus getting status documentation is a great tool to follow and use. To be able to run and test the site locally you need node.js V18+. To install node.js you can use the installer found at node.js, I used chocolatey to install it. I would also recommend using Visual Studio Code (vscode)
Chocolatey & Node.js
Chocolatey is a great tool to install program via the command lind. Windows has created their own version of it, while its works pretty good and is great for some programs I have found Chocolatey works better for devlopment tools.
To get started with Chocolatey you can install it with the downloader here.
The other option is to use winget to install chocolatey
winget install Chocolatey.Chocolatey
That will install Chocolatey, once it is installed you can use chocolatey to install node.js with the following command.
choco install node.js
Docusaurus Setup
Now that Node.js is installed we can get Docusaurus installed and running locally.
-
Docusaurus install
You can get the basic setup by running the command
#Change my-website to what you called your repo/site
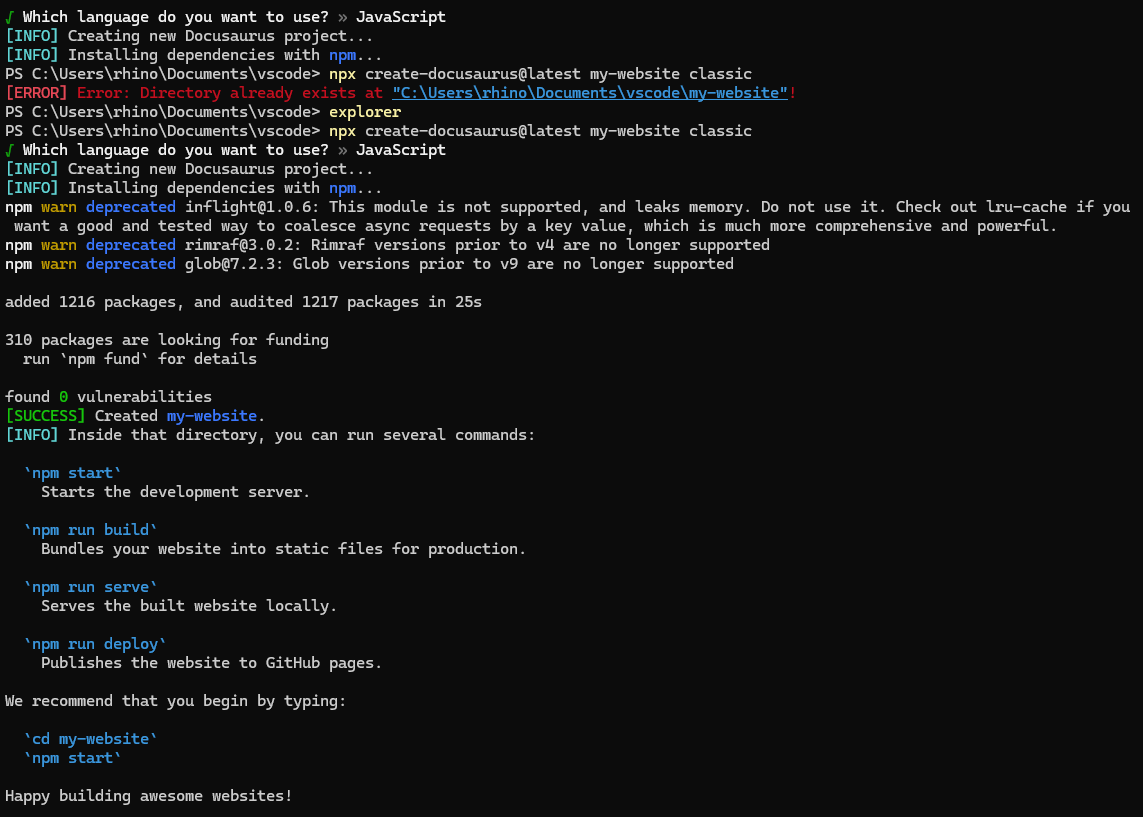
npx create-docusaurus@latest my-website classic
This will run though the download script. It does prompt you to select between JavaScript & TypeScript
? Which language do you want to use? » - Use arrow-keys. Return to submit.
>   JavaScript
    TypeScript
I know a little of JavaScript and even less with TypeScript so I selected JavaScript. It will take a minute or so and download the required files.

All the basic files are now available inside the folder called
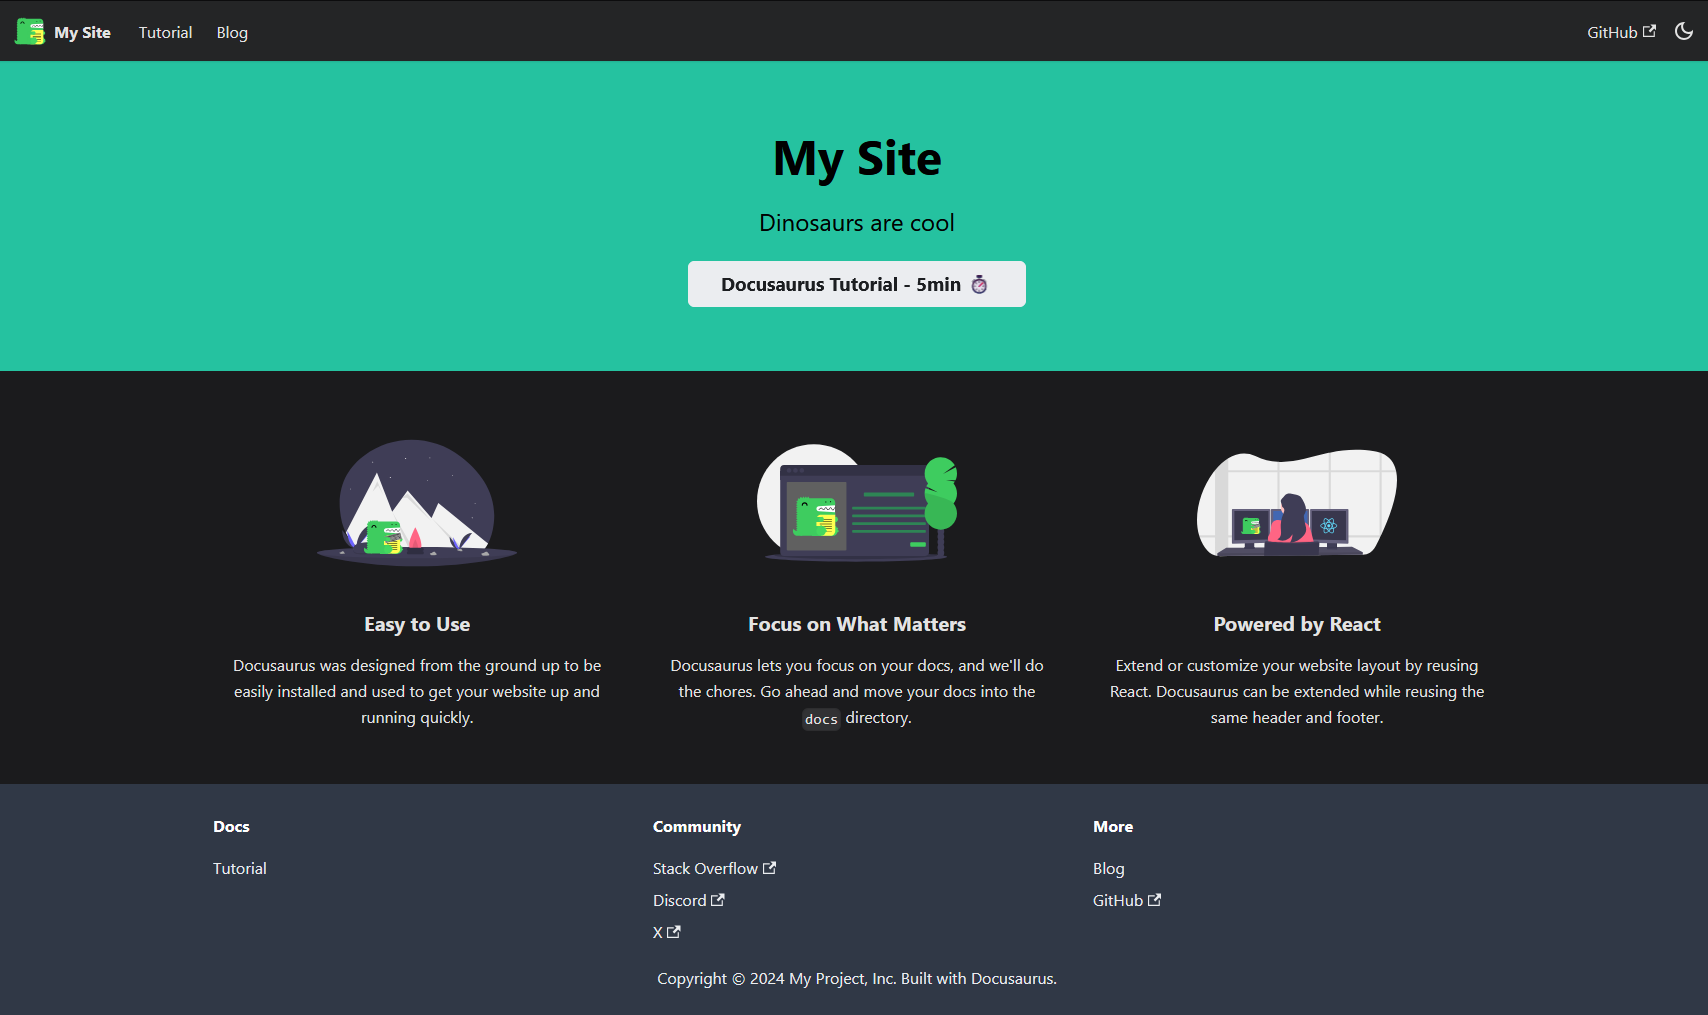
my-websiteor whatever you named it. We can view the site now with all its defaults. To do this you will want to run the follow commands inside your site root folder:#change my-website to what you called the folder
cd ./my-website
#run to start the website
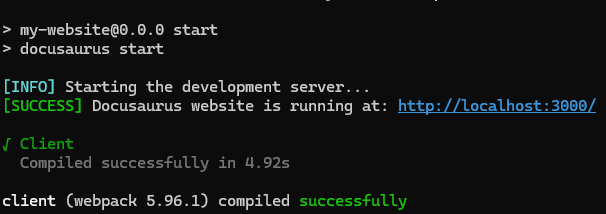
npm start
#To stop the website from running press ctrl+c
It will launch in your default browser and continue to run until you
ctrl+cin the terminal.
-
Configuring Docusaurus
In
docusaurus.config.jsyou will want to change some variables. You will want to define this section to change the variables. The comments are helpful, the whole documentation is really good. This section is line 13-26 indocusaurus.config.js.title: 'My Site',
tagline: 'Dinosaurs are cool',
favicon: 'img/favicon.ico',
// Set the production url of your site here
url: 'https://your-docusaurus-site.example.com',
// Set the /<baseUrl>/ pathname under which your site is served
// For GitHub pages deployment, it is often '/<projectName>/'
baseUrl: '/',
// GitHub pages deployment config.
// If you aren't using GitHub pages, you don't need these.
organizationName: 'facebook', // Usually your GitHub org/user name.
projectName: 'docusaurus', // Usually your repo name.The default homepage top section will use these variable when building.
  title: 'My Site', //Change to the name of your website. This is also used in title tab
  tagline: 'Dinosaurs are cool', //Can be anything you would like.
If you are hosting this on Github pages without a custom domain you will want to add
trailingSlash: false,on the line after Project name. It should look like:organizationName: 'facebook', // Usually your GitHub org/user name.
projectName: 'docusaurus', // Usually your repo name.
trailingSlash: false, -
Docusaurus Additional Setup
-
homepage
If you are familiar with JS and React these next steps will be straight forward.
The homepage is built with two
.jsfiles. The one that builds the homepage is:/pages/index.js. In this file there is a function call that builds the middle section, that function is defined/src/components/HomepageFeatures/index.jsIf you are keeping the same layout style provided by default, there is not much you need to change in
/pages/index.js. The one thing I would point out to change is the tab title.The tab title will change depending on the page. By default it will show these:
homepage Hello From My Site | My Site Blog Blog | My Site Docs Doc | My Site If you want to change this for the homepage, you can find the below in
/pages/index.jstitle={`Hello from ${siteConfig.title}`}change it to whatever you would like.
The second file,
/src/components/HomepageFeatures/index.js, has more of the actual information that is used and displayed.In the file you will find blocks:
{
  title: 'Easy to Use',
  Svg: require('@site/static/img/Automate.svg').default,
  description: (
    <>
      Docusaurus was designed form the ground up to be easily installed and used to get your website up and running quickly.
    </>
  ),
},
There are 3 blocks by default that are equally spaced and centered on the page. Change the title, svg, and descriptions to be what you would like them to say.
-
Color theme
The only thing left is changing the color scheme. This will affect the whole websites color scheme. The file
/src/css/custom.cssholds all the color hex values for dark and light mode. Adjust them as you want.By default it will select light mode for new user, personally the first thing I do it change everything to dark mode. Because of these I added this code to set the default theme to dark mode.
//add to docusaurus.config.js after the prism block
colorMode: {
    defaultMode: 'dark',
    disableSwitch: false,
  },
-
-
Github
Once you have your site looking the way you want locally, we can upload and do the first commit to github or any other Git platform. These steps will mainly focus on Github but should transfer to other Git platforms. If you have not done anything with Git local you will need to instal Git. We will be using the Github extension for vscode also.
In your website folder, you will want to initialize it. You can do this by running the command:
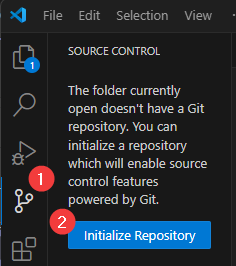
git initor by opening the folder in vscode, selecting the github extension and Initialize Repository

Now that it is initialized you can publish your branch with vscode. If you plan to use Github pages it will need to be a public repo, Cloudflare pages can use a private repo.
If you are using Github pages you will need to create the Github Actions to deploy your website. To get started you will want to create an hidden folder
.githuband then aworkflowsfolder inside that. This is where you will define the actions with yml files. Docusaurus provides some basic action files in their document. I would recommend copying those file from hereWith those actions created everytime you sync up and publish to main branch it will build the site and publish to Github pages!
Wrapping up
You should now have a Docusaurus website deployed on Github Pages. This is a great setup to host a techincal blog & documents. You can keep this simple setup or expand on it if you know more Javascript and React. I have setup a local search plugin on mine already but Docusaurus has a ton of offical and community plugins.
Hope this article helped out. I have plans to setup a comment plugin, eventually, to answer question.
